Deployment Options
Deploying your Synthflow AI agent gets it live and ready to take calls or messages. Each deployment path is complementary, so you can enable several at once on the same agent to cover wherever your customers are. Combine voice channels, messaging channels, automations, and integrations to fit your workflow.
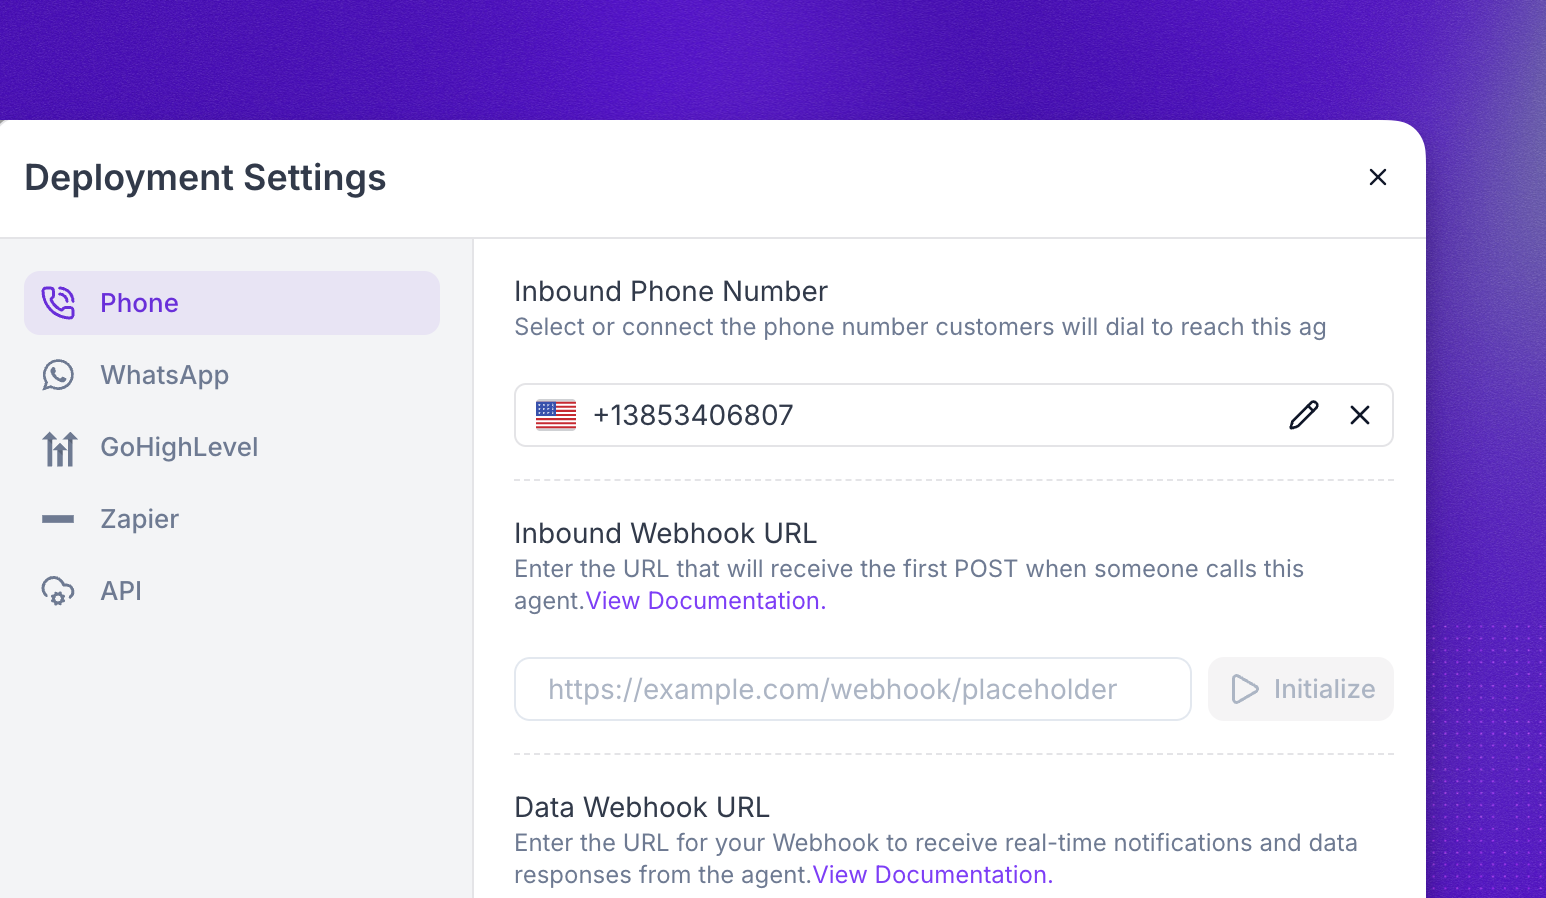
Connect your agent to the public phone network for inbound and outbound calls, with options for purchased numbers, Twilio, and SIP trunking.
Let customers click-to-call your inbound agent inside WhatsApp while preserving WhatsApp’s encryption and user experience.
Start a voice call and stream audio over WebSocket with one API request — no WebRTC signaling on the client.
Run text conversations through an embeddable widget, the chat API, WhatsApp messaging, or SMS.
Drive every part of the platform programmatically with the Synthflow REST and streaming API.
Automate what happens before, during, and after each call by connecting agents to CRMs, databases, and external systems.
Trigger calls and sync call data with thousands of apps using Zapier triggers and actions.
Sync agencies and subaccounts, import calendars for real-time booking, and run inbound and outbound call workflows.
Browse the full catalog of CRM, scheduling, payments, automation, and telephony integrations.
FAQ
How do I choose between Telephony, WhatsApp, Websocket, and Chat?
Choose based on where your users already are: Telephony for phone network calls, WhatsApp for WhatsApp Business calling, Websocket for real-time voice in your app, and Chat for text channels. You can enable more than one deployment path for the same agent.
Can I use third-party tools like GoHighLevel, Zapier, or API webhooks?
Yes. In Deployment Settings, you can connect GoHighLevel, Zapier, and custom API webhook flows using Get started with your API.
Is there a maximum call duration?
Yes. Calls can run for up to 40 minutes, including both Twilio-based and custom telephony setups.
Can Synthflow support region-specific infrastructure needs?
In many cases, yes. We can deploy points of presence closer to your users to reduce latency and jitter. For an example, see this LATAM regionalization case study.