Branch Node
The Branch Node routes your conversation flow based on conditions. It evaluates variables, user responses, or action results and directs the flow to different paths—keeping your logic clean, modular, and easy to debug.
Overview
The Branch Node:
- Makes decisions based on variables, user input, or action results
- Routes the flow to different paths based on conditions
- Does not generate text or wait for user input—it only evaluates logic
- Supports multiple branches with different conditions
Important: Branch Nodes are invisible to users. They evaluate conditions and immediately route to the next node. If you need to collect information, use a Conversation node instead.
How to Configure
Step 1: Add the Node
In Flow Designer, click the Plus icon and select Branch
Step 2: Configure Each Branch
For each outgoing branch, configure:
Branch Name:
- Enter a clear, descriptive name (e.g., “Table is available”, “User opted in”, “High priority”)
- Avoid generic names like “Branch 1” or “Decision”
- Name it after the condition or outcome (e.g., “Is Email Valid?”)
Step 3: Order Your Branches
Branches are evaluated top to bottom—the first matching condition wins. Order them strategically:
- Place the most specific or likely conditions first
- Put the fallback/default branch last
Condition Types
Each branch in your Branch Node needs a condition that determines when that path should be taken. You can choose between two condition types: Deterministic Rule for precise, structured logic, or Prompt for flexible, natural language conditions.
Deterministic Rule
Use Deterministic Rule when you need precise, structured conditions based on variable comparisons.
Configuration:
- When Variable: Select the variable to evaluate
- Operator: Choose from Equals (
=), Not equal (!=), Contains, Starts with, Ends with, Less than (<), Greater than (>) - Target Value: Enter the literal value or set to compare against (e.g.,
true,["admin","superuser"],1000)
Multiple conditions:
- Click “Add Rule” to chain multiple variable tests
- Toggle “All Rules Must Be True” if you want all conditions to be met (AND logic)
- Otherwise, the first matching condition wins (OR logic)
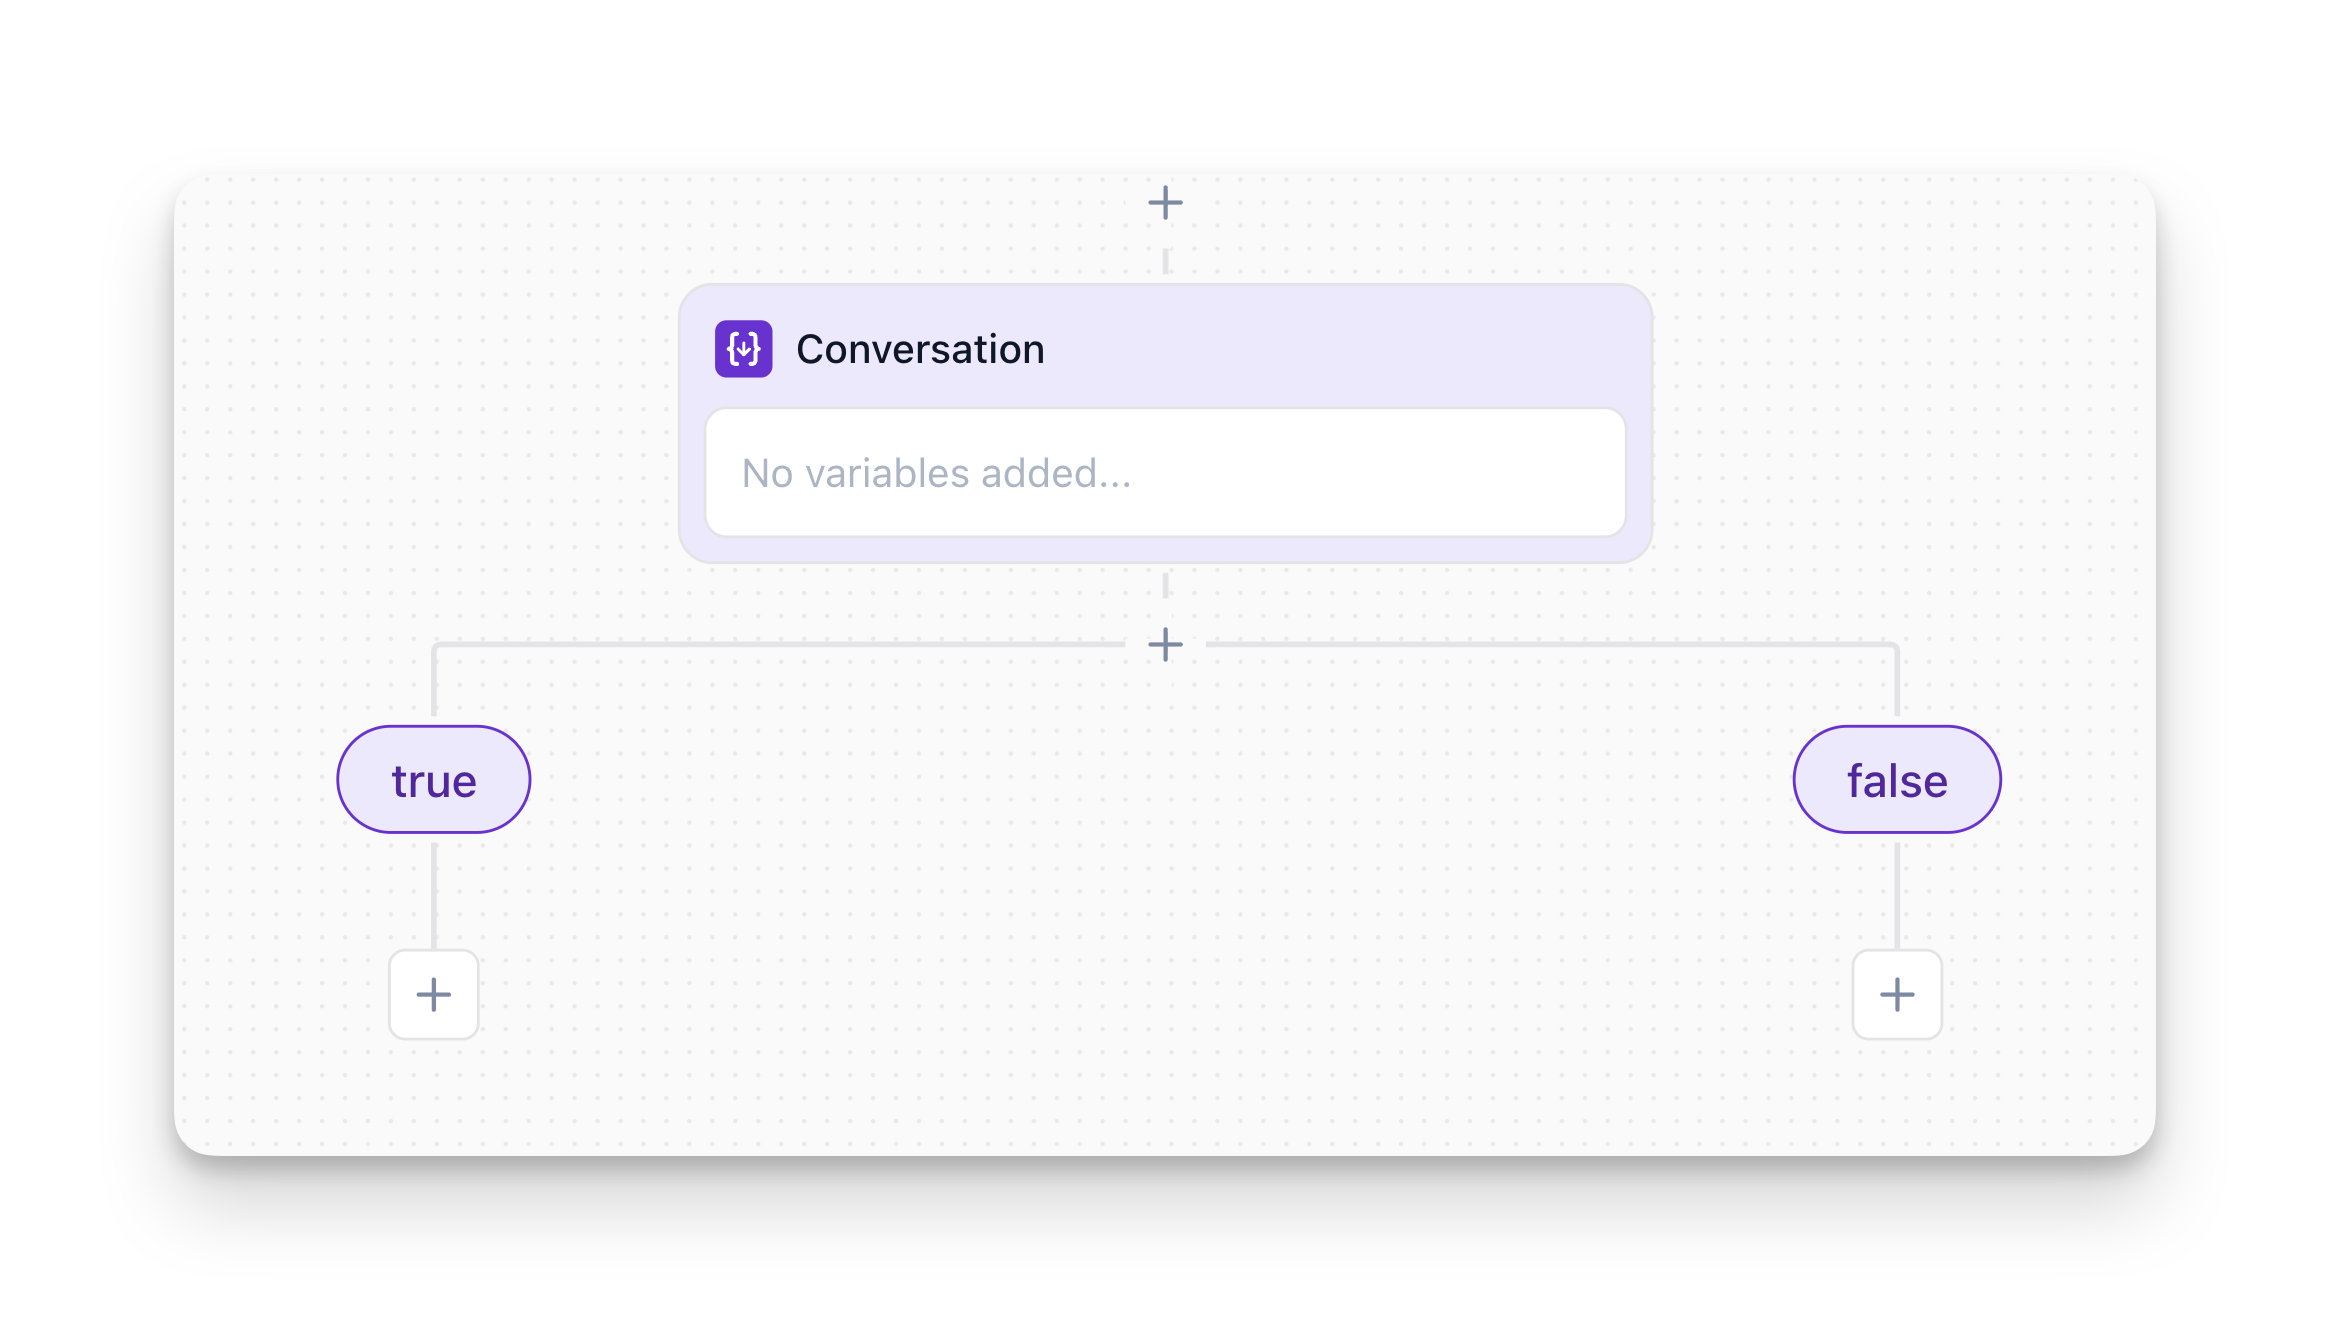
Example:
Prompt
Use Prompt when you want flexible, natural language conditions that can handle variations in how users express themselves.
When to Go Here:
- Enter a free-form, plain-language description of when this branch should be taken
- Reference variables with
{variable_name}and action results with<action.field> - Be precise: Write the exact logical test (e.g., “If the user said Yes” or “When {order_total} is greater than 100”)
Example:
How Branch Evaluation Works
Evaluation Timing
The flow engine pauses at the Branch Node after the previous node completes—whether that was a user response in a Conversation Node, a Custom Action in an Instruction Node, or a Function Node updating data.
Immediately, it evaluates each outgoing node’s condition in sequence.
Matching & Routing
First-Match Wins: The engine checks Node 1’s condition first. If it’s true, the flow goes down Node 1. If not, it checks Node 2, and so on.
You can also select in the Deterministic Rule that All Rules Must Be True, if you want to branch based on multiple conditions/variables.
Fallback Node (“Else” or “Default”): Best practice is to include a final, catch-all node with condition true—this avoids runtime errors if none of your prior conditions match. Label it clearly (e.g., “Default Path”).
Always include a fallback/default branch at the end. This prevents errors and ensures your flow never gets stuck.
No AI or User Interaction
Branch Nodes are invisible to end-users. There’s no prompt or pause for a user reply—unless a later node explicitly asks. The Branch Node only does logical evaluation, then immediately hands off to the next node.
Best Practices
Always Include a Fallback Branch
Keep Conditions Simple
Break complex logic into multiple Branch Nodes rather than cramming everything into one:
Never Branch Directly After Greeting Message
This is a common mistake that causes flows to get stuck.
For more details, see the Greeting Message documentation.
Use Variables and Action Results
Reference variables collected from Conversation nodes and action results from Custom Actions:
- Variables: Use
{variable_name}syntax (e.g.,{user_email},{party_size}) - Action Results: Use
<action.field>syntax (e.g.,<availability.available>)
You can view all available variables in the Variables guide.
Reuse Variables Consistently
If multiple Branch Nodes rely on the same data, make sure that data comes from a single source upstream. Don’t recalculate or redefine variables in multiple places—consolidate to avoid inconsistencies.
Don’t Use Branch Nodes for Simple “Wait for User Input”
If all you need is to wait for user text or a button click, use a Conversation node instead. Branch Nodes should not generate output or wait for user input—they should only evaluate logic and route the flow.
FAQ
Can I use multiple conditions in one branch?
Yes! In Deterministic Rule mode, click “Add Rule” to chain multiple conditions. Toggle “All Rules Must Be True” if you want all conditions to be met (AND logic), or leave it off for OR logic (first matching condition wins).
Can I branch based on action results from Custom Actions?
Yes! Reference action results using <action.field> syntax. For example, <availability.available> or <order.status>.
What's the difference between Deterministic Rule and Prompt?
Deterministic Rule uses precise variable comparisons with operators (equals, greater than, etc.). Prompt uses natural language descriptions. Use Deterministic Rule for precise logic, Prompt for flexible, language-based conditions.
Can I branch directly after a Greeting Message?
No. The Greeting Message doesn’t collect user input, so a Branch Node placed immediately after it has no data to evaluate. Always use a Conversation node between Greeting and Branch to collect the variable you need.
Summary & Key Takeaways
-
Branch Nodes do not speak or execute API calls—they only evaluate conditions and route the flow to the correct next node.
-
Keep conditions simple, ordered, and mutually exclusive wherever possible.
-
Always include a fallback branch (condition
trueorelse) to avoid “no valid path” runtime errors. -
Name your Branch Node clearly so that anyone scanning your flow instantly grasps the decision logic.
-
If your logic grows complex, break it into multiple Branch Nodes in series rather than stuffing everything into one giant branch.