Jump To Node
The Jump To Node redirects your flow directly to any other Conversation or Branch node in your flow—skipping everything in between. Think of it like a “goto” statement: as soon as the Jump To Node executes, the flow immediately moves to the specified target node.
Overview
The Jump To Node:
- Redirects immediately to a target node, skipping all intermediate nodes
- Does not generate text or wait for user input—it only redirects
- Works within the same flow (unlike Trigger Subflow which jumps to a different sub-agent)
- Does not return (unlike Trigger Subflow which automatically returns)
Important: Jump To redirects permanently within the same flow. If you need to jump to a different sub-agent and return, use the Trigger Subflow node instead.
How to Configure
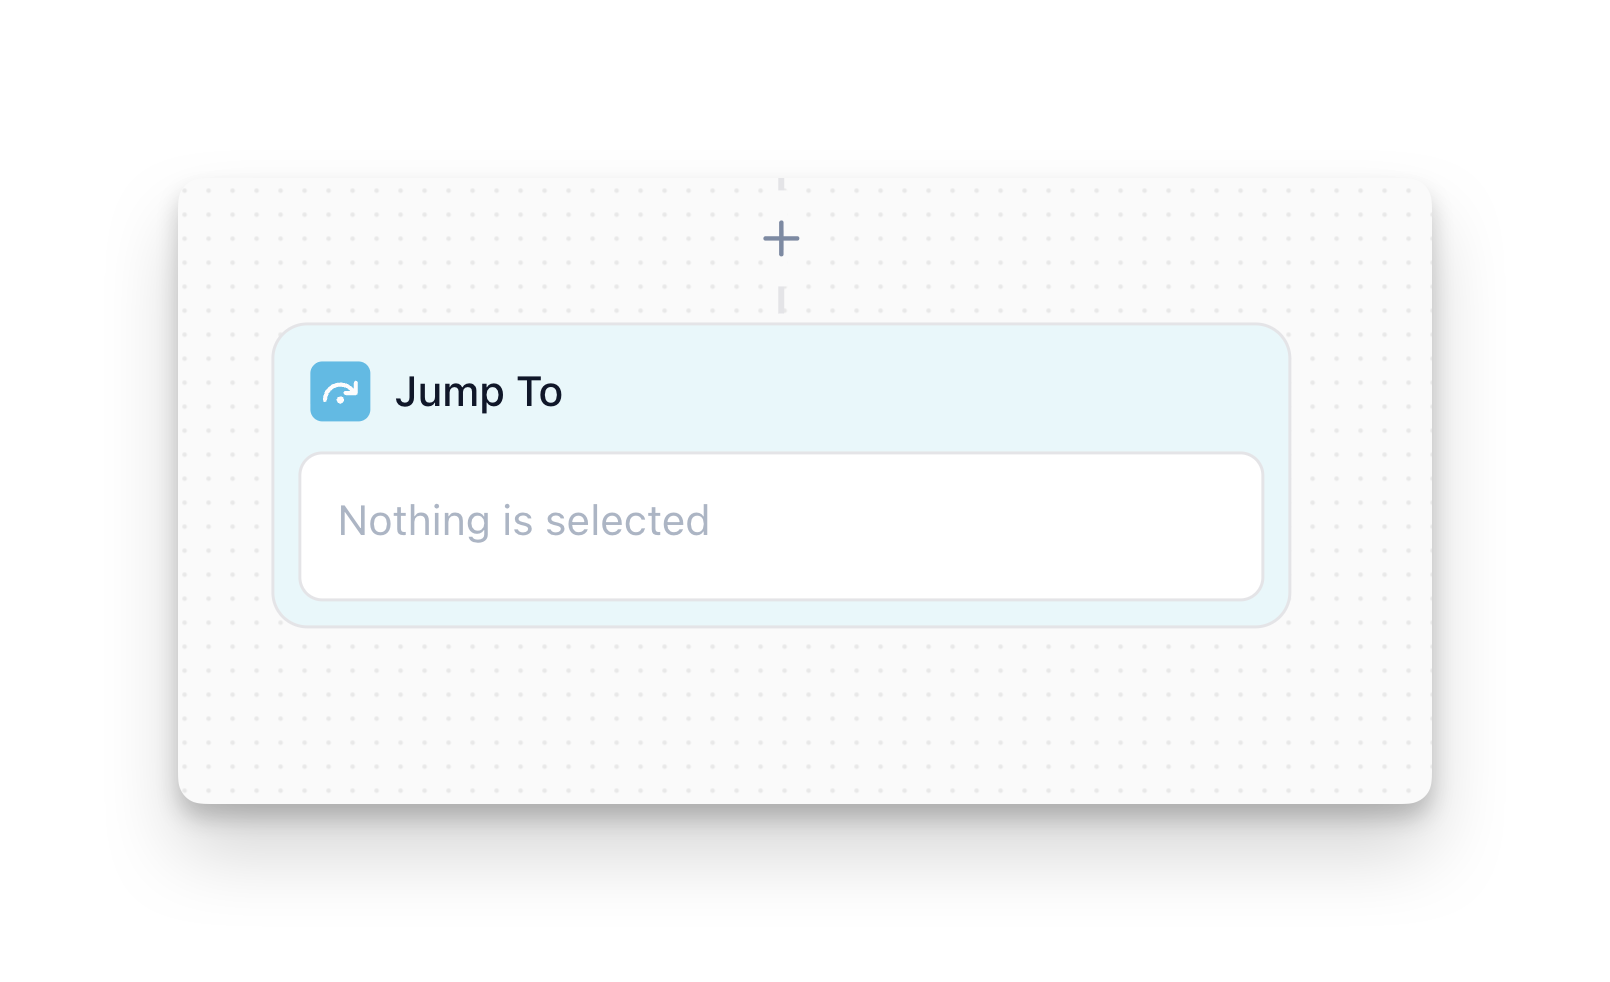
- Click the Plus icon and select Jump To
- Select the target node from the dropdown (you can filter by node type)
How It Works
As soon as the preceding node completes, the Jump To Node:
- Immediately “teleports” to the chosen target node
- Does not pause, ask the user, or run any AI instructions
- Skips all intermediate nodes between the current position and the target
Jump To vs Trigger Subflow
For more details, see the Multi-Agent System documentation.
Common Use Cases
Error Handling
Create a single “Error Handler” node and jump to it whenever an error occurs, avoiding duplicate error handling logic.
Creating Loops
Jump back to an earlier node to retry collecting invalid input or loop through a process.
Skipping Steps
Skip intermediate steps under certain conditions (e.g., admin users skip validation steps).
Best Practices
Don’t Use for Simple Branching
Why: Jump To is best for explicit rerouting or loops. For simple conditional routing, use a Branch Node instead.
Avoid Infinite Loops
Check that you aren’t jumping directly or indirectly back to the same Jump To node, which would create an infinite loop.
FAQ
Can I jump to a Jump To Node?
No. You can only jump to Conversation nodes or Branch nodes. Jump To nodes cannot be targets for other Jump To nodes.
What's the difference between Jump To and Trigger Subflow?
Jump To redirects to a node within the same flow and doesn’t return. Trigger Subflow hands off to a different sub-agent and automatically returns when done. Use Jump To for loops and error handling within the same flow. Use Trigger Subflow for reusable logic across sub-agents.
Can I create loops with Jump To?
Yes! Jump To is perfect for creating loops. For example, jump back to a Conversation node to retry collecting invalid input. Just make sure you have a way to exit the loop (e.g., a Branch Node that checks if retries are exhausted).