End Call Node
The End Call Node is the final stop in your flow—it terminates the conversation session. Once the AI agent reaches this node, it will deliver any last scripted message, perform any final cleanup actions you’ve attached, and then close out the conversation immediately. There are no outgoing nodes: the flow terminates here.
Overview
The End Call Node:
- Terminates the conversation immediately after delivering the final message
- Delivers a closing message before ending the call
- Runs any Custom Actions before terminating (e.g., logging, notifications)
- Cannot be continued—once reached, the conversation ends
Important: Once the End Call Node executes, the user cannot reply or continue the conversation. Any user input after this point is ignored.
How to Configure
Step 1: Add the Node
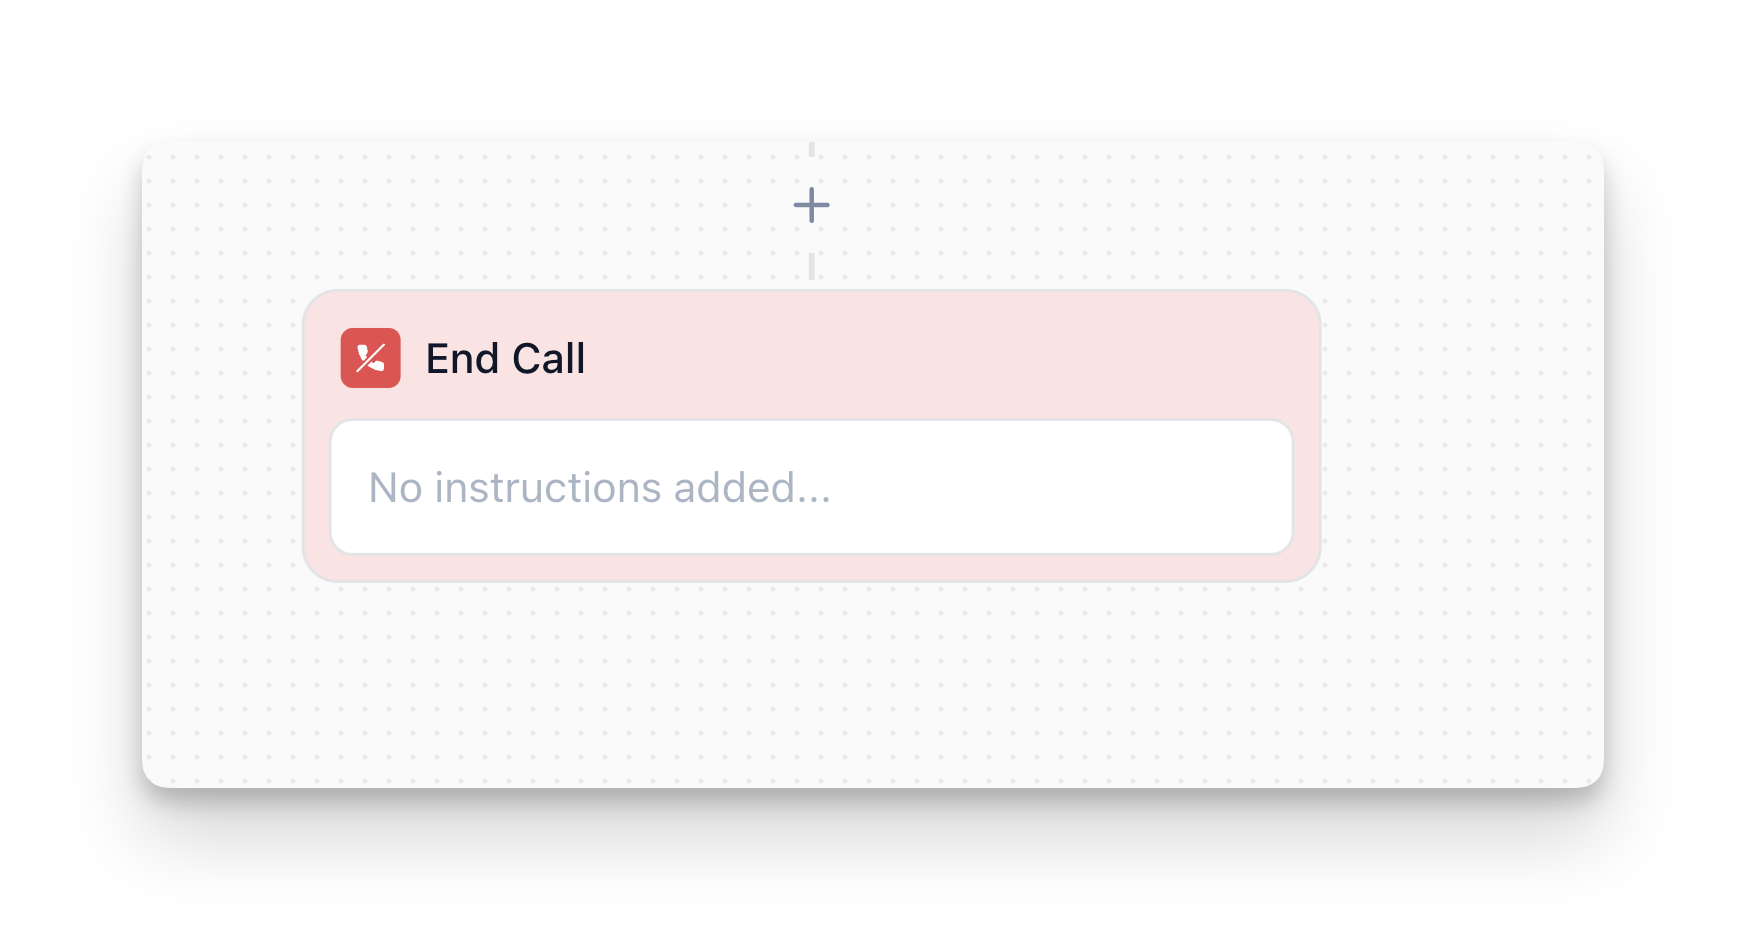
In Flow Designer, click the Plus icon and select End Call
Step 2: Enter Final Message
Message:
- Enter the exact message you want the agent to say as its final statement
- Keep it short and clear—this is the last thing the user hears
- The agent will send exactly what you put here (no multi-turn)
- Use
{variable_name}syntax to personalize (e.g.,"Thanks, {user_name}! Have a great day.")
Example:
Note: If you reference variables in your final message (e.g., {ticket_number}, {refund_amount}), ensure those variables are collected earlier in your flow. Otherwise, you’ll see the variable name literally in the message or get a runtime error.
How It Works
Execution Flow
- Flow reaches End Call Node (via Conversation, Branch, Jump To, or any other node)
- Custom Actions execute first (if any are attached)—the engine processes them before delivering the final message
- Final message is delivered (if configured)—the AI sends exactly the text you put in the message field
- Conversation terminates immediately—no further interaction possible
Termination Behavior
- No outgoing nodes: The End Call Node has no outgoing connections—this is the hard stop
- Immediate closure: The conversation ends as soon as the final message is delivered
- No user input accepted: Any user response after termination is ignored (or logged as a new session, depending on backend design)
Best Practices
Keep Final Messages Concise
The final message should be short, polite, and clear. Avoid long explanations or multiple sentences.
Don’t Ask Questions
Since the conversation ends immediately, don’t ask questions in the final message. End Call Node is not a place for contingency.
Use Variables for Personalization
Reference collected variables to make the closing message feel personal:
Examples:
"Thanks, {user_name}! Your order #{order_id} has been placed.""Perfect! I've scheduled your appointment for {appointment_date}. See you then!"
Route to Different End Nodes for Context
Use Branch Nodes to route to different End Call Nodes based on context:
Example:
This keeps your closing messages contextually appropriate.
Use Jump To for Centralized End Points
If you have multiple paths that should end the same way, use Jump To to route to a single End Call Node. This reduces duplication and makes updates easier.
Example:
Alternative approach: If you have multiple “end” scenarios, create a single, well-named End Call Node (e.g., “End Call – Standard”) and adjust its message dynamically with variables. Then, from other spots, Jump or route to that single node—rather than duplicating multiple end messages.
Keep Final Scripts Short
Avoid information overload. Users either hear this at the very end of a dialogue or as a fail-safe. If you need to convey more than two sentences of info, consider splitting: send a shorter closing text here, then have a final Conversation or Message node just before that to display or speak the extra details.
Common Use Cases
Successful Completion
End the call after successfully completing the user’s request:
User-Requested Exit
End the call when the user indicates they’re done:
Error or Fallback
End the call when an error occurs or the AI cannot help:
When Not to Use End Call Node
- Intermediate Content: If you still want the user to interact, don’t put them in an End Call Node. Use a Conversation node instead.
- Partial Sessions: If you want to end or continue based on some condition, route through a Branch node first. Only after the “end” condition should you hit End Call.
FAQ
Can the user continue the conversation after End Call?
No. Once the End Call Node executes, the conversation terminates immediately. Any user input after this point is ignored.
Can I use variables in the final message?
Yes! Use {variable_name} syntax to reference variables collected during the conversation. For example: "Thanks, {user_name}! Your order #{order_id} is confirmed."
What happens to Custom Actions if the End Call Node is reached?
Custom Actions execute before the final message is delivered. They complete before the conversation terminates.
Can I have multiple End Call Nodes in my flow?
Yes. You can have multiple End Call Nodes for different scenarios (e.g., success vs. error). Use Branch Nodes to route to the appropriate End Call Node based on context.
What's the difference between End Call and Call Transfer?
End Call terminates the conversation completely. Call Transfer hands off the call to a human agent or external phone system. Use End Call when the conversation is complete. Use Call Transfer when you need human intervention.