Conversation Node
The Conversation node collects variables by gathering specific information from users during conversations. It pauses the flow until the user provides a response, then stores that response in a variable for later use in branching logic, API calls, or personalization.
Overview
The Conversation node:
- Asks questions to gather specific information from users
- Pauses the flow until the user provides a valid response
- Stores responses as variables (e.g.,
{user_email},{party_size}) - Validates input to ensure data matches expected formats
Important: The conversation pauses at a Conversation node until the user provides a valid response. If the user doesn’t respond or gives an invalid answer, the agent will ask again or handle it according to your error handling logic.
How to Configure
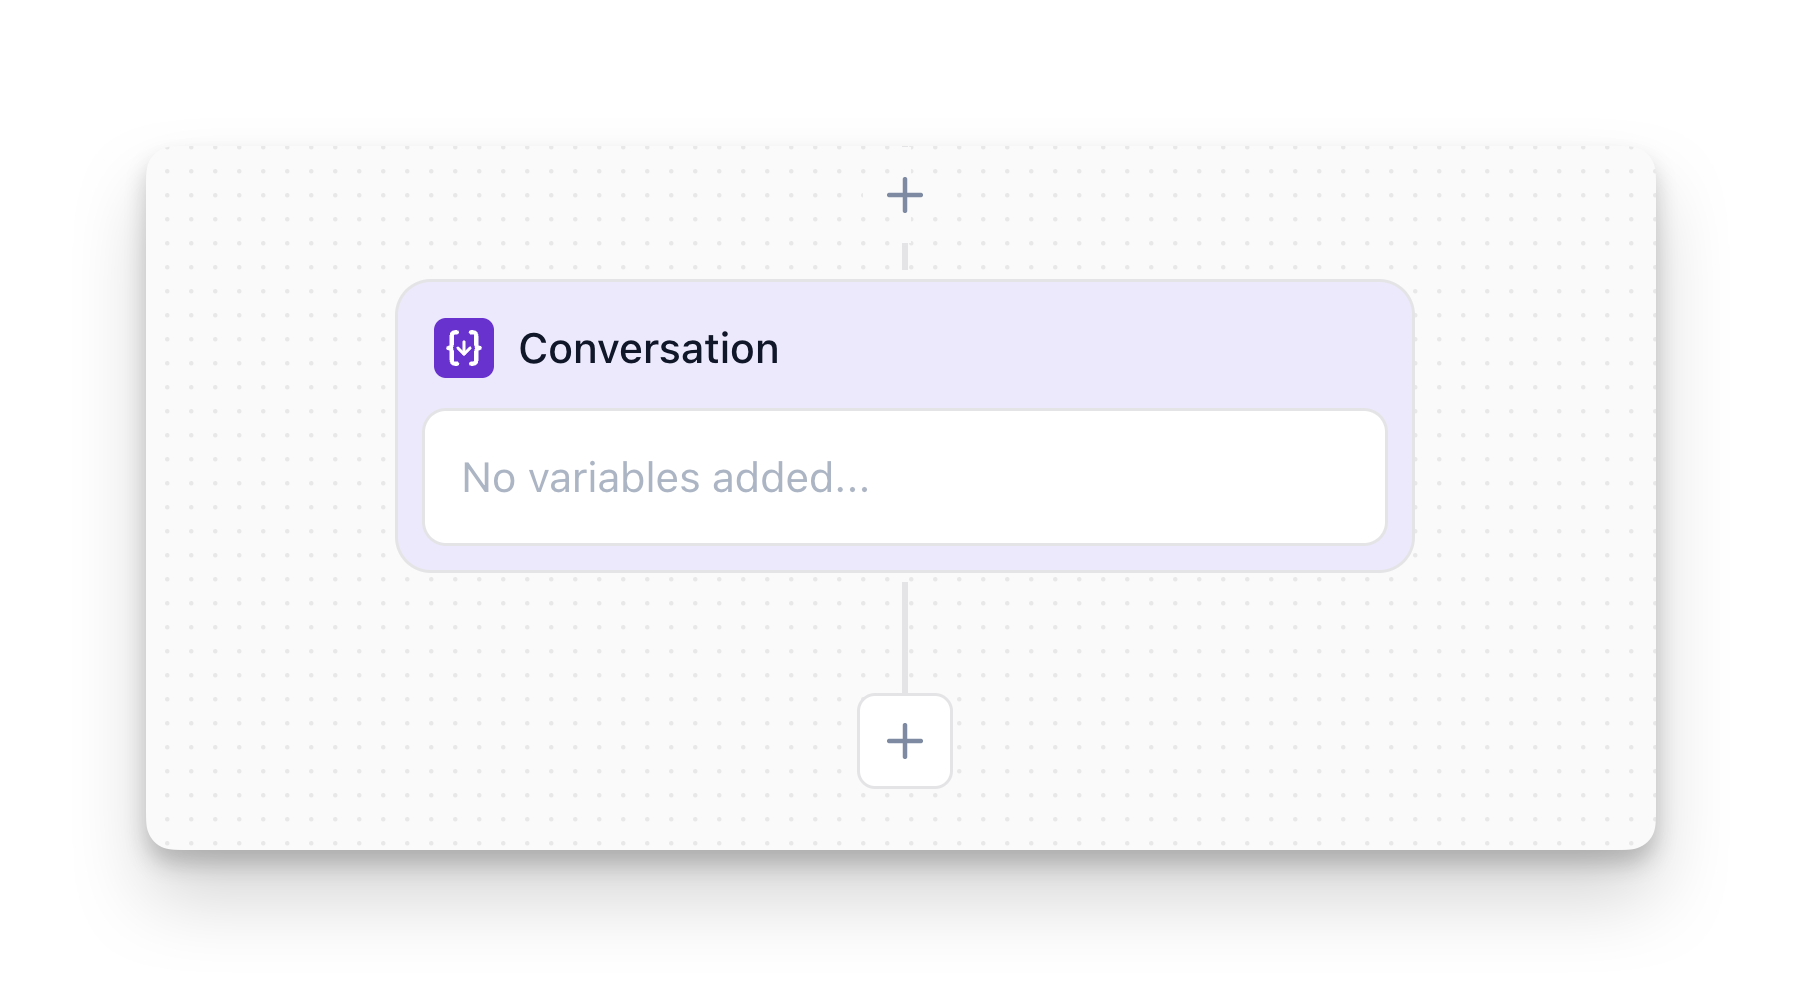
Step 1: Add the Node
In Flow Designer, click the Plus icon and select Conversation
Step 2: Add Instructions (Optional)
Describe how the agent should behave when collecting variables. This is especially useful when collecting multiple variables in sequence.
Example:
"First ask the user for their age, then ask for their gender.""Ask for party size first, then ask for the preferred date and time."
The instructions guide the agent’s behavior and help ensure variables are collected in the right order.
Step 3: Define What to Collect
Variable Name:
- Choose a clear, descriptive name (e.g.,
user_email,phone_number,preferred_date) - Use lowercase with underscores (snake_case) for consistency
- This is how you’ll reference the variable later:
{user_email}
Variable Type:
- String: Free-form text input (name, address, comments)
- Number: Numeric values only (age, quantity, phone number)
- List: User selects from predefined options (product category, department)
- Boolean: Yes/no, true/false responses (opt-in consent, confirm/cancel)
Prompt:
- Write what the agent should say to request this information
- Examples:
"What's your email address?""How many people will be joining us?""Which department do you need? Sales, Support, or Billing?"
Step 4: (Optional) Add Validation
Configure validation rules to ensure data is in the correct format:
- Email validation: Ensures input follows email format
- Phone validation: Ensures input is a valid phone number
- Range validation: For numbers (e.g., “Age must be between 18 and 100”)
- Required vs Optional: Choose whether the user must provide a value
Conversation Node vs Message Node
This is a common point of confusion. Here’s the difference:
Example - Conversation Node:
Example - Message Node:
Using Collected Variables
Once collected, variables can be referenced throughout your flow:
- In Message Nodes: Personalize messages (e.g.,
"Thanks, {user_name}! I've scheduled your appointment for {appointment_date}.") - In Branch Nodes: Make decisions based on collected data (e.g.,
{budget} > 10000) - In Custom Actions: Pass variables to external APIs
- In Multi-Agent System: Variables collected in the main flow are accessible to sub-agents
For more details on how variables work and how to view them, see Variables.
FAQ
Do I need a Conversation node for every question I ask?
No. Only use Conversation nodes when you need to store the response for later use. For simple confirmations or conversational flow, you can handle responses in other ways (e.g., Branch nodes that detect intent).
Can I collect multiple variables in one Conversation node?
Yes! A Conversation node can collect multiple variables during the same conversation. Configure each variable you want to collect within the node settings.
What happens if the user says 'I don't know'?
The AI will detect that the user doesn’t have the information. You should handle this with a Branch node to check if the variable was collected, and provide a fallback path if not.
Can variables be passed between different agents?
Yes. Variables collected in the main agent are accessible to sub-agents (Multi-Agent System). The sub-agent can also update variables that the main agent will see when control returns. See Variables for more details.